Like many other Office programs, Power BI has its own file format (.pbix), as well as the ability to create, open, and save standalone files. It also syncs with the Power BI web app so that your data can be accessed from anywhere, including Power BI mobile apps.
Topic Objectives
In this section, you will learn how to:
- Create, save, and open Power BI files
- Publish files to the Power BI web app
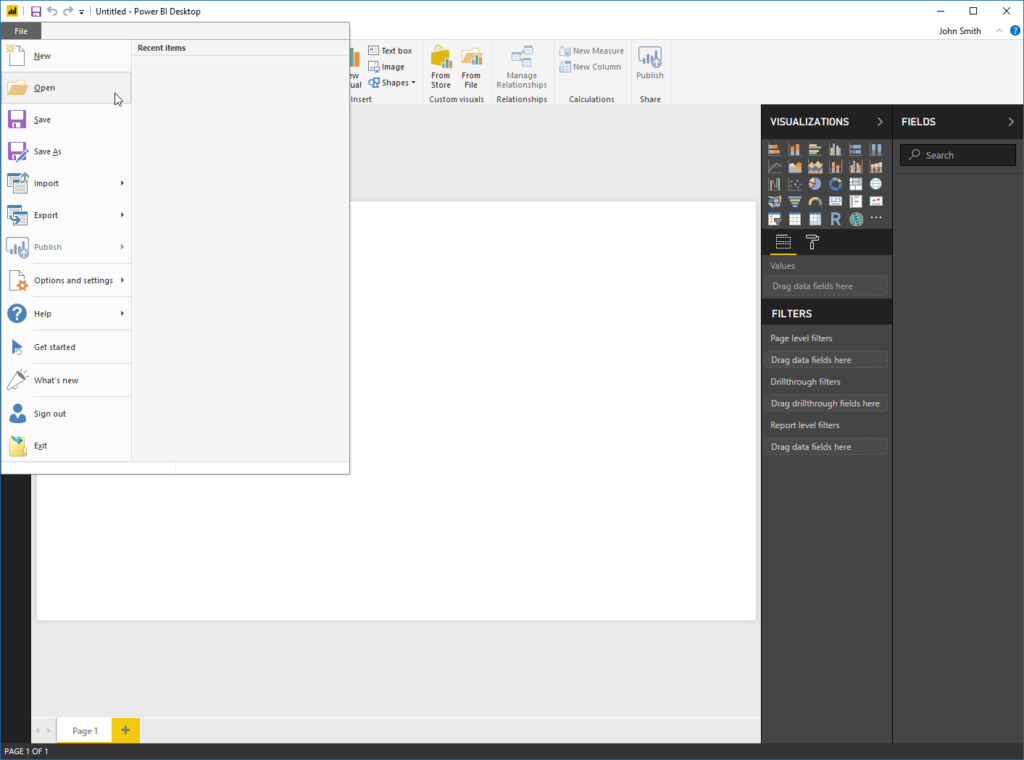
To open a file, click File → Open:
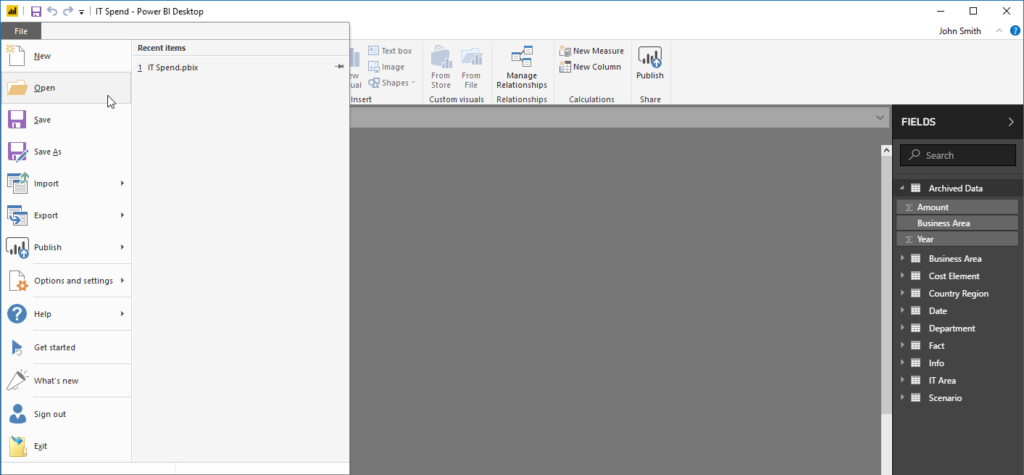
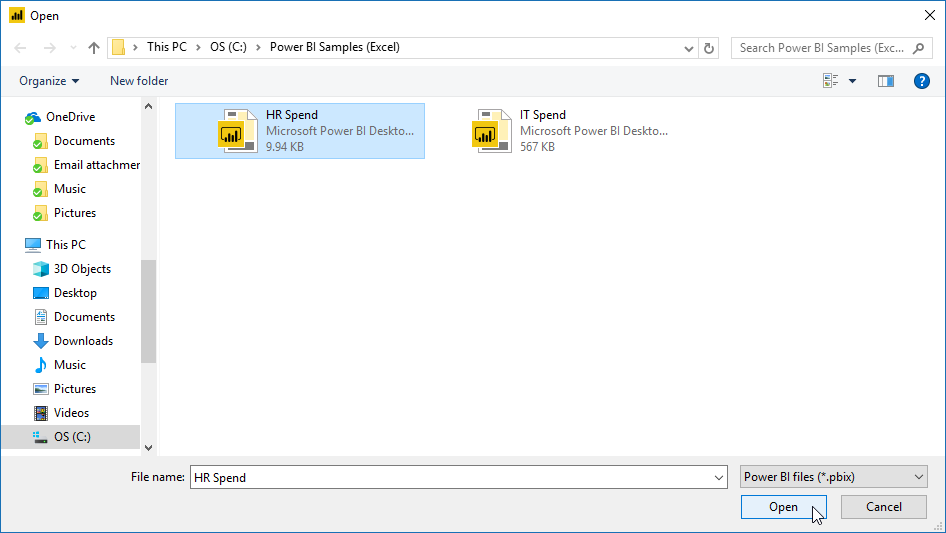
(You can also click a shortcut in the “Recent items” list to open it directly.) Next, navigate to your file, select it, and click Open:
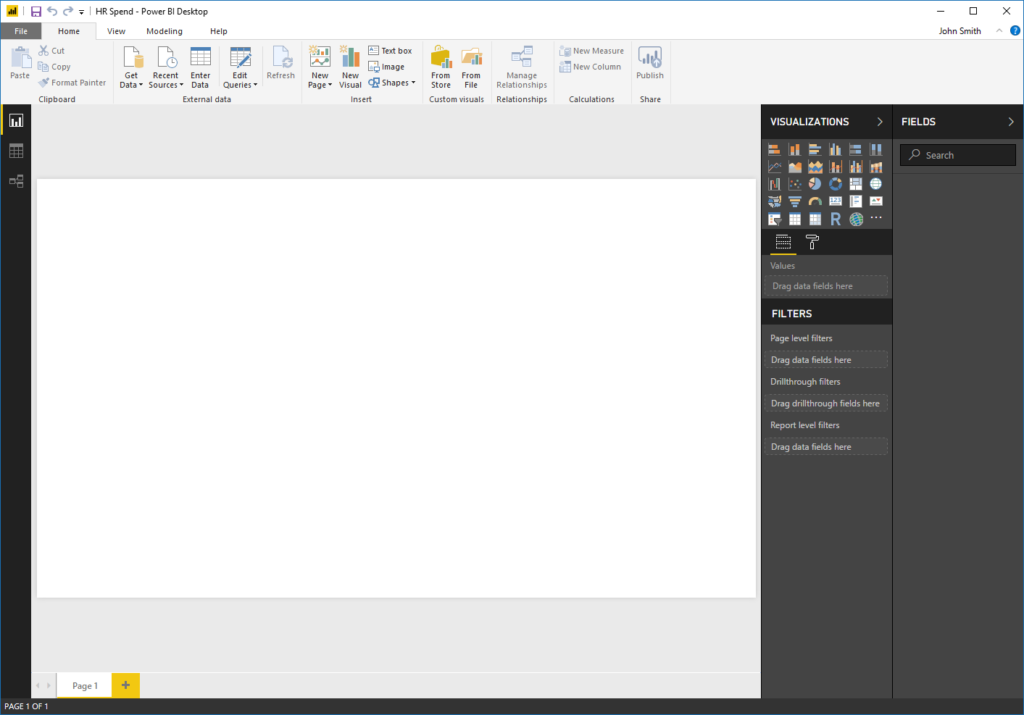
The file will now open in a new instance of Power BI, ready for use:
To save a file, click File → Save or Save As:
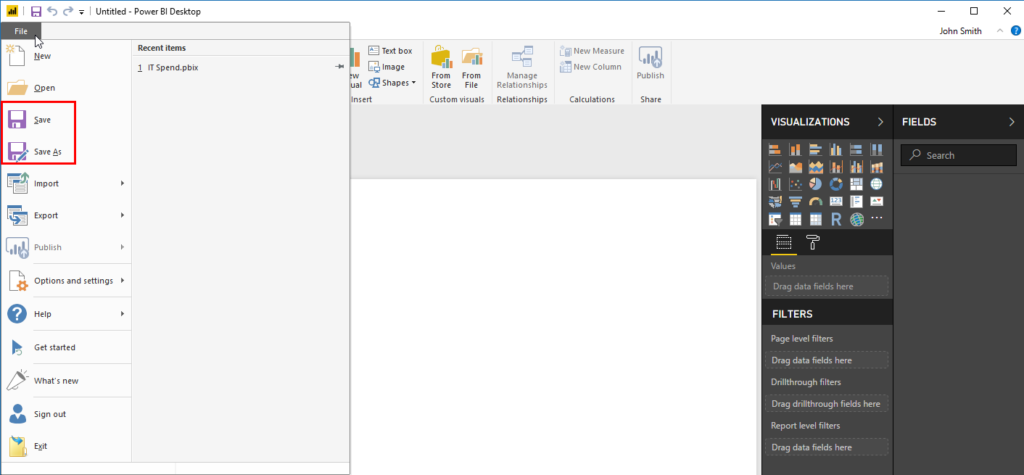
The Save As dialog will open. Here, you can choose a location and name for your file. Click Save when you are ready:
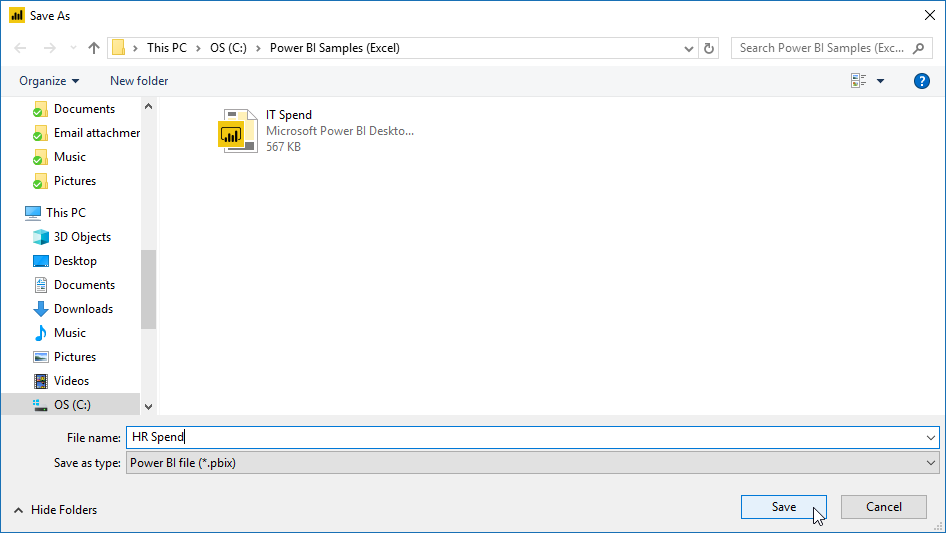
The file will now be saved.
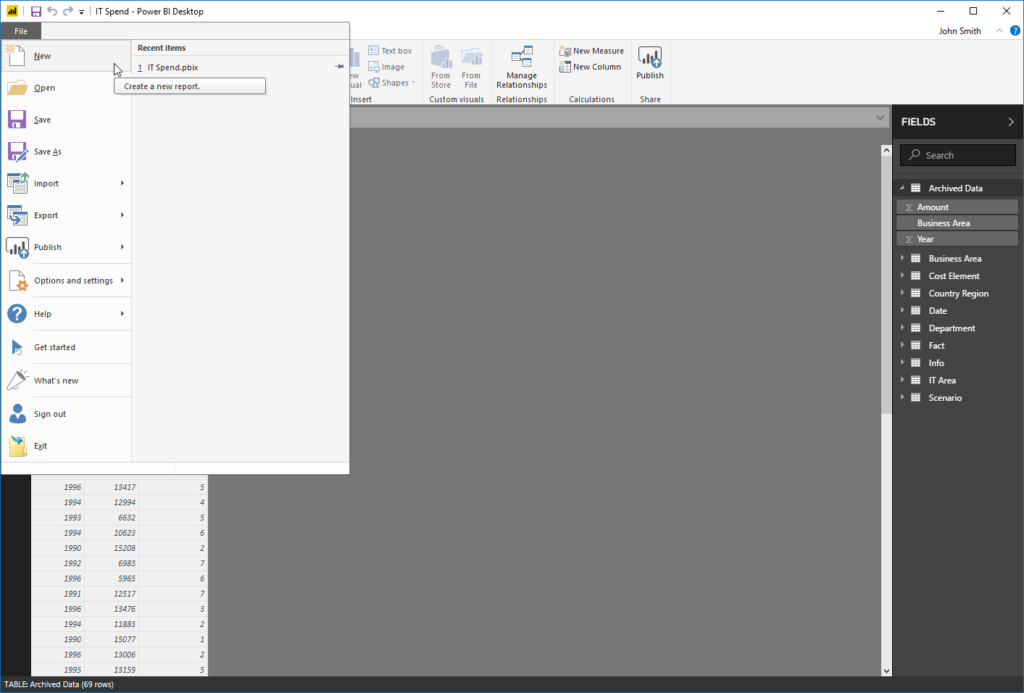
To create a new Power BI file, click File → New:
A new Power BI instance will open:
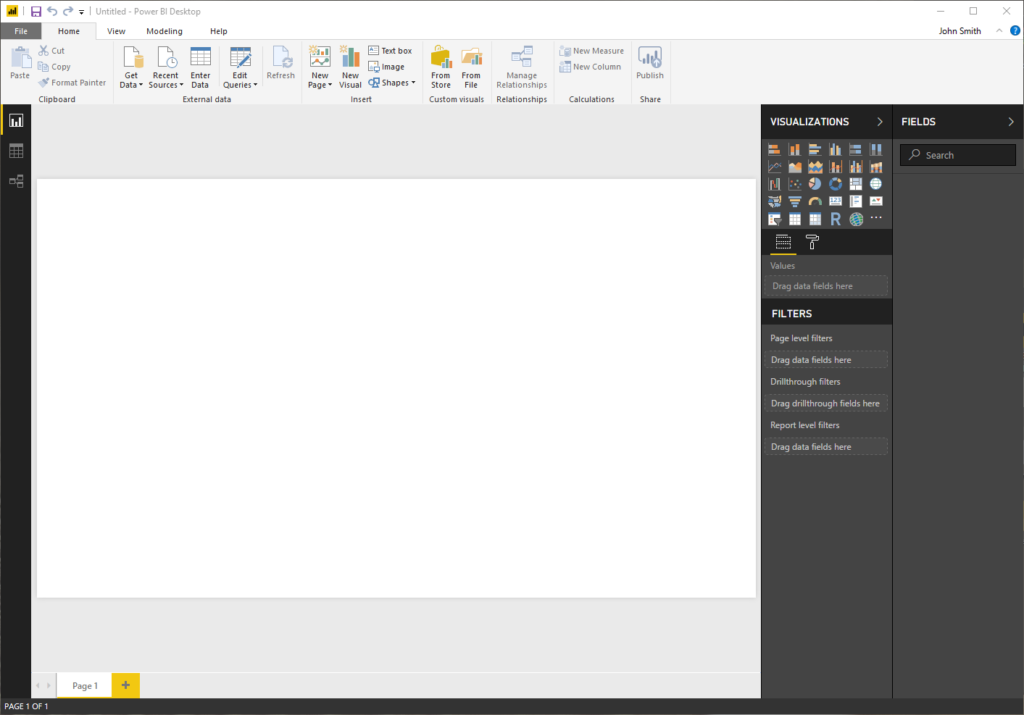
You can now work with the file.
Publishing to the Power BI Web App
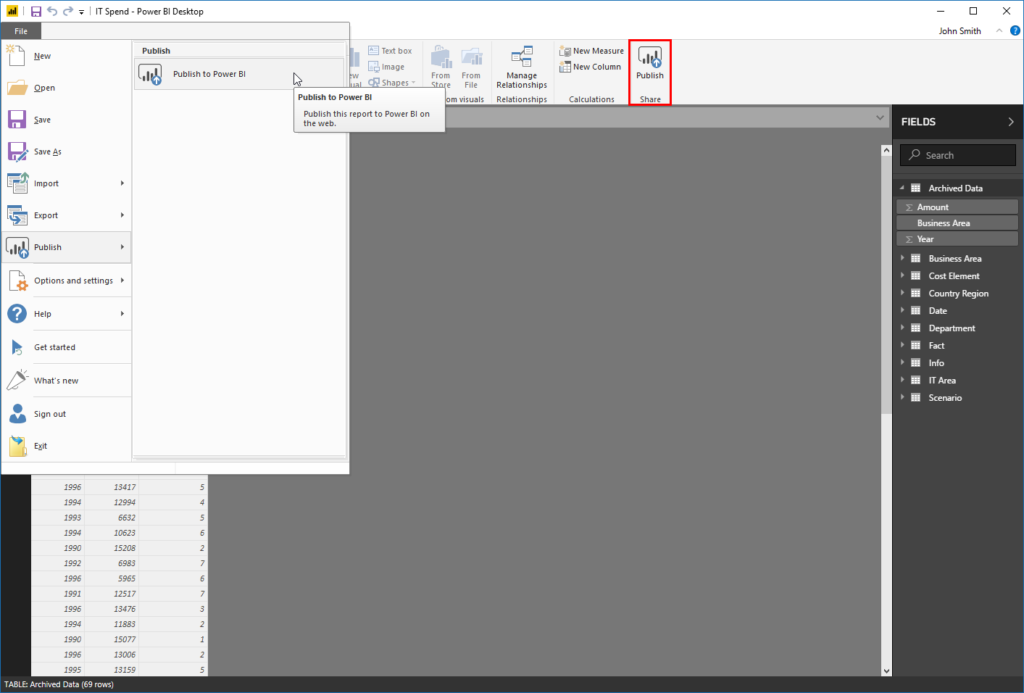
To publish your data to the Power BI web app, click File → Publish → Publish to Power BI, or click the Publish command on the Home tab:
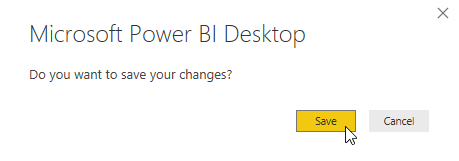
If prompted, save your changes:
And sign in if prompted:

Next, select a destination for the file. We will use the default “My workspace:”

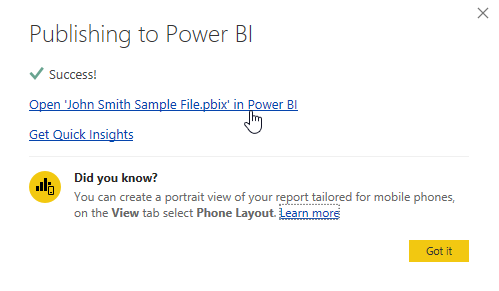
When the process is complete, you will see a notification:
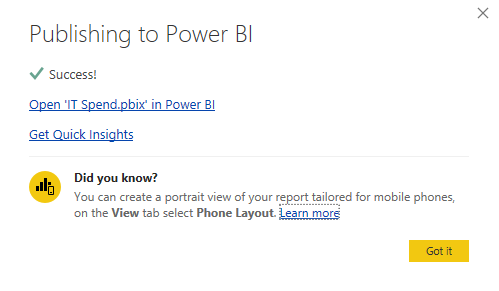
You can open the data in the Power BI web app or click “Got it” to return to the Power BI desktop client. We will learn more about the Power BI web app in Lesson 5.
Activity 1-2: Working with Power BI Desktop Files
In this activity, you will open an existing Power BI file and use it to set up a new file.
| 1 | Open Power BI: |

| 2 | Close the Start screen if it appears. Then, click File → Open: |
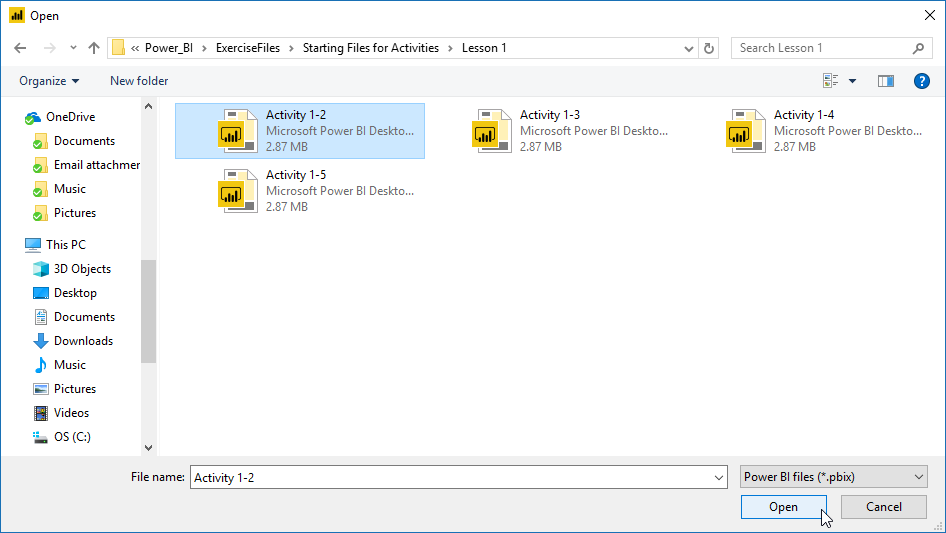
| 3 | Navigate to your Exercise Files folder. Select Activity 1-2 and click Open: |
| 4 | Now, let’s save a copy of this file so we can modify it. Click File → Save As: |

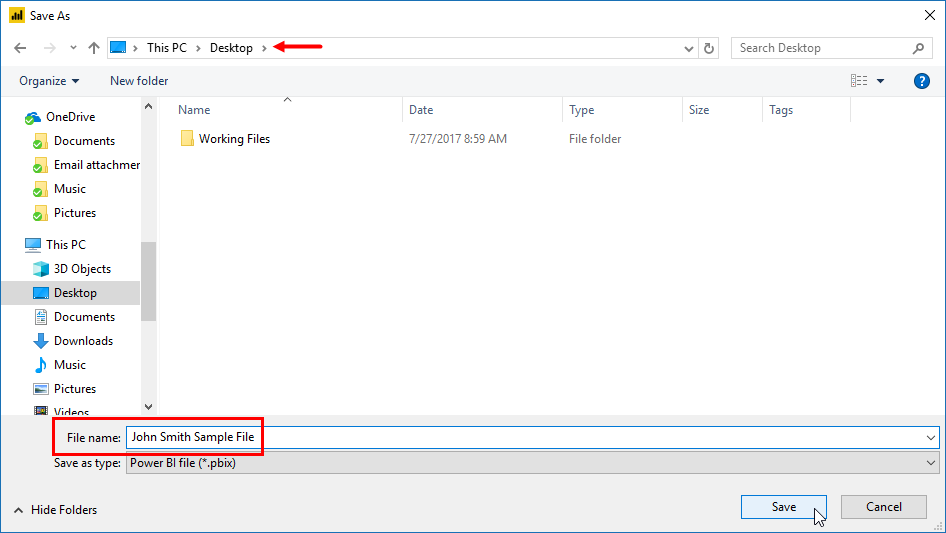
| 5 | Navigate to your desktop. Then, enter “<Your Name> Sample File” as the file name. Click Save: |
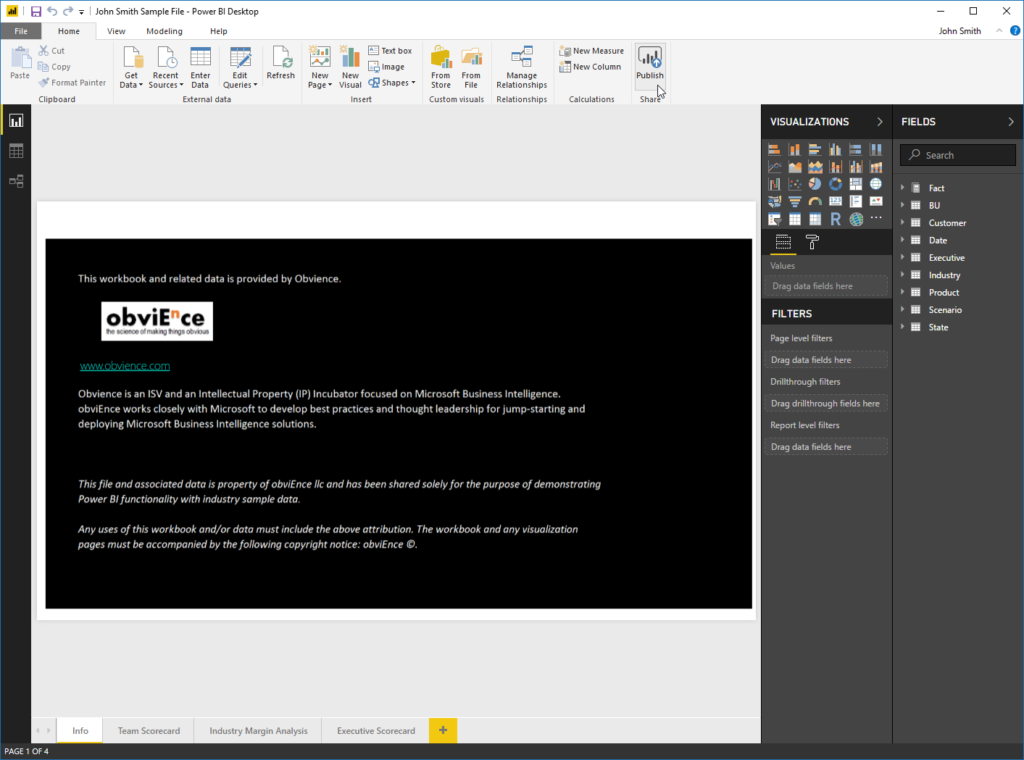
| 6 | Now we are ready to publish this file to the Power BI web app. Click Home → Publish: |
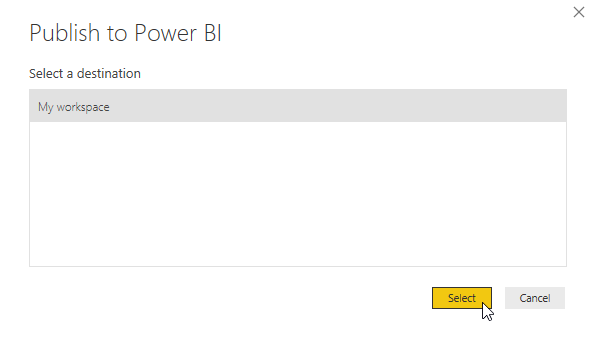
| 7 | First, you will be asked to choose a destination for the file. The default location is fine, so click Select: |
(If you are prompted to sign in, do so.)
| 8 | When you receive a completion notification, click the top link to see it in the web app: |
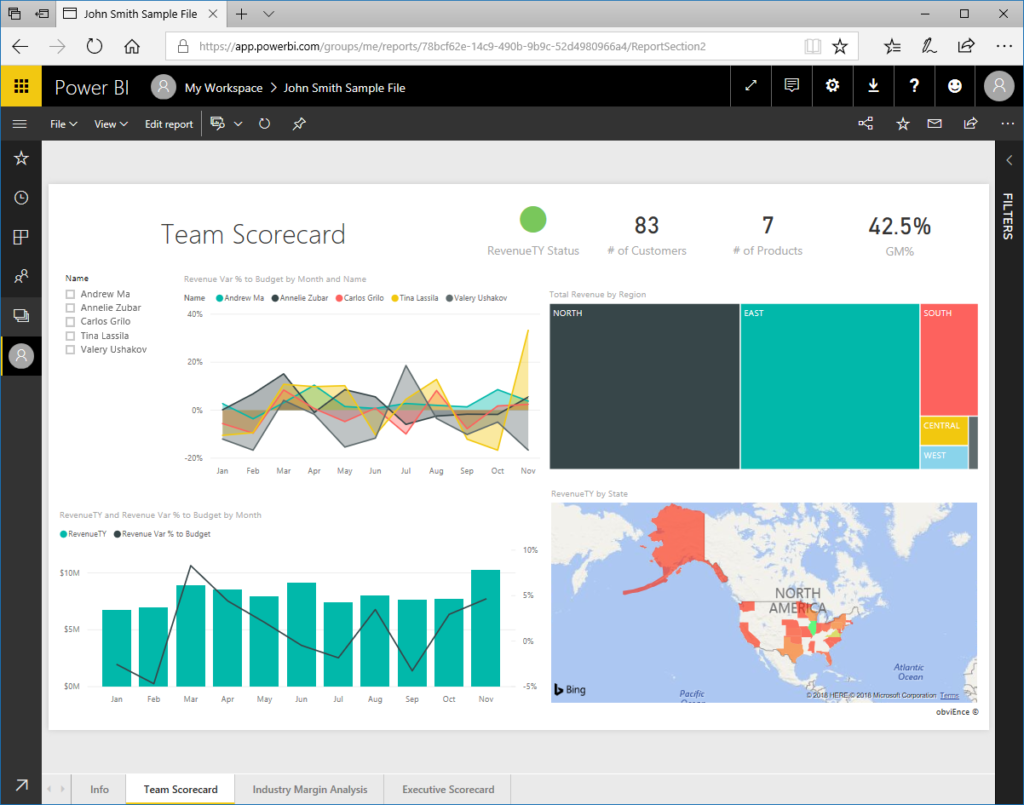
| 9 | The Power BI web app will open and display the report. Click any of the tabs at the bottom to see a sample page: |
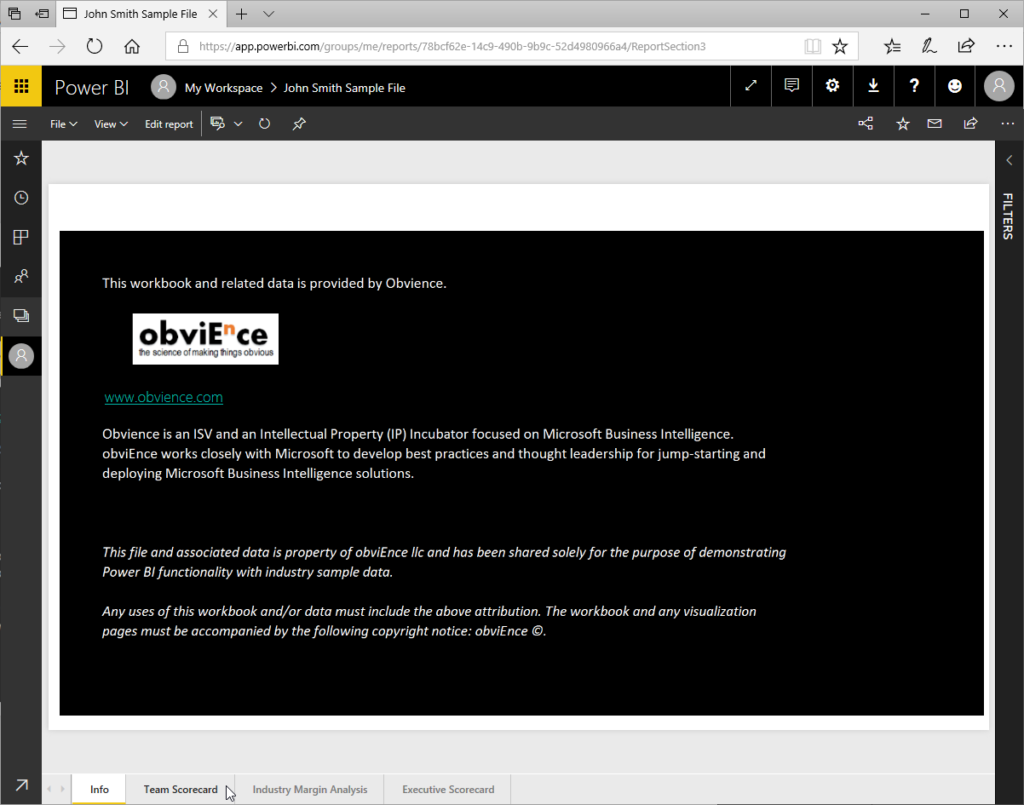
| 10 | Review the report page, and then close your Internet browser to complete this activity: |