
Your first step after creating a Power BI file will be to connect your data to it. We will cover the two most common scenarios (Excel workbooks and Access databases) and show you where to find additional options if you need them. We will also discuss creating a manual dataset and managing data sources.
Topic Objectives
In this section, you will learn:
- How to connect to an Excel workbook or Access atabase
- How to view all connection options
- How to create a manual dataset
- How to manage data sources
Connecting to an Excel Workbook
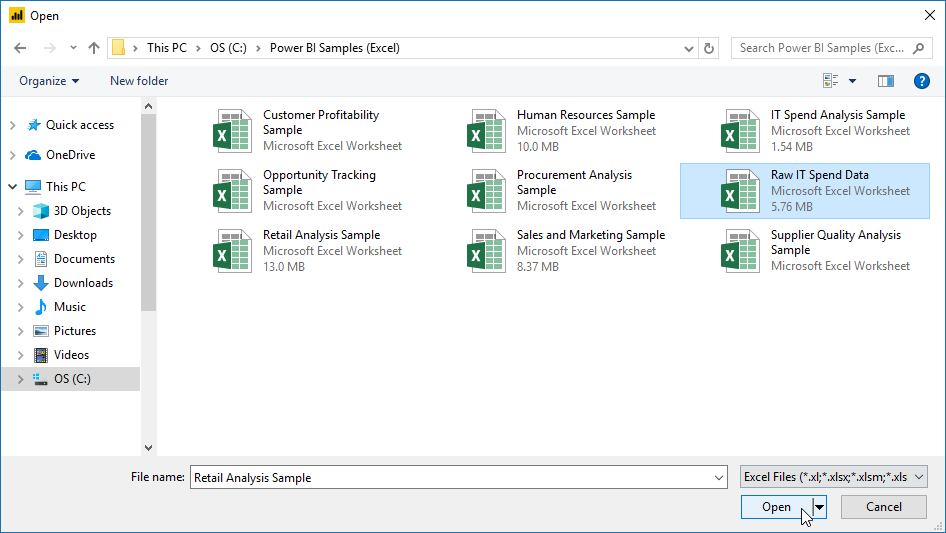
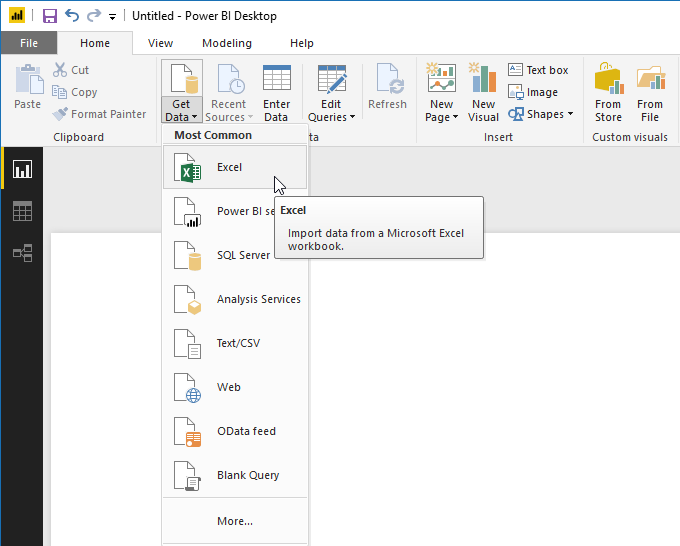
To connect to an Excel workbook, open the target Power BI file. (Here, we are starting from a new file.) Click Home → Get Data arrow → Excel:

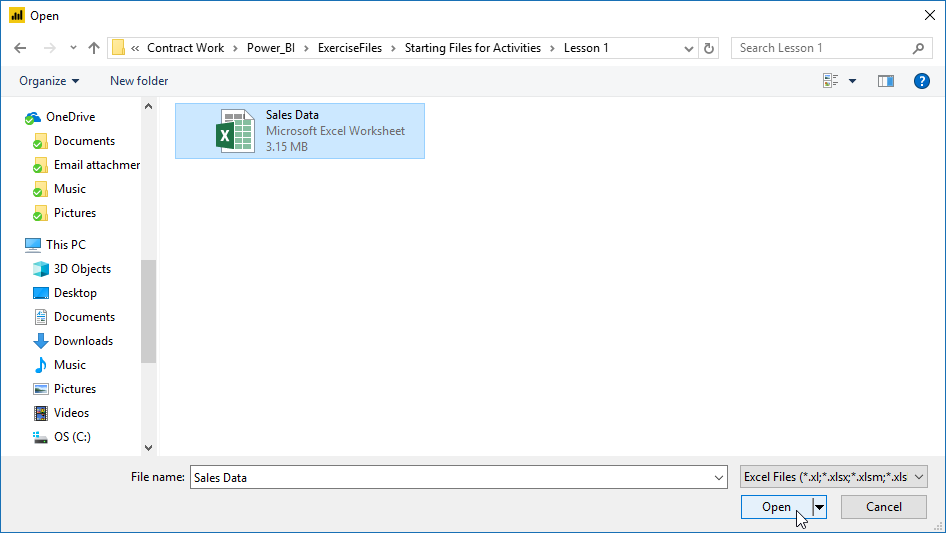
The Open dialog will appear. Navigate to your file, select it, and click Open:
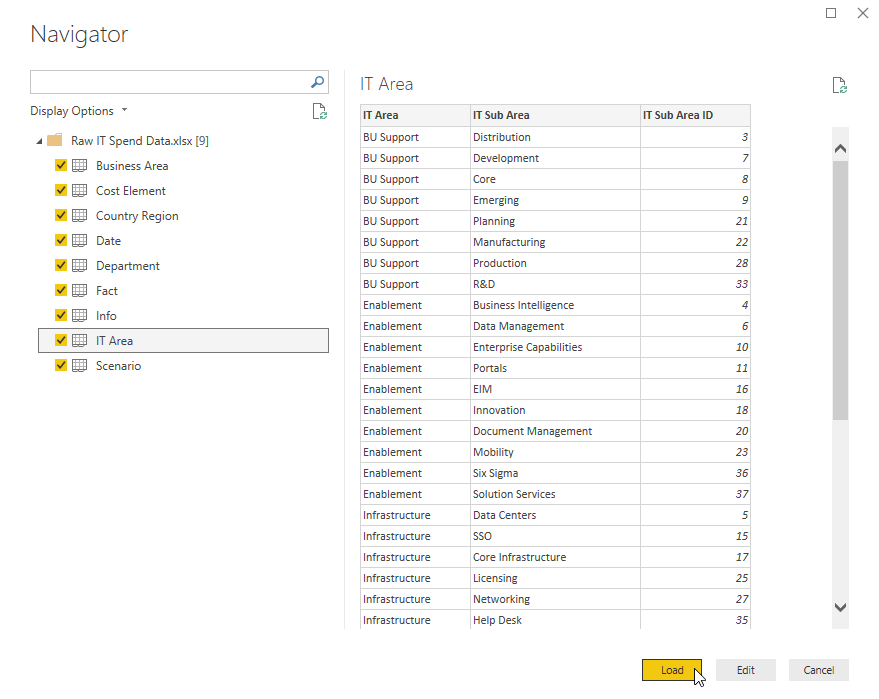
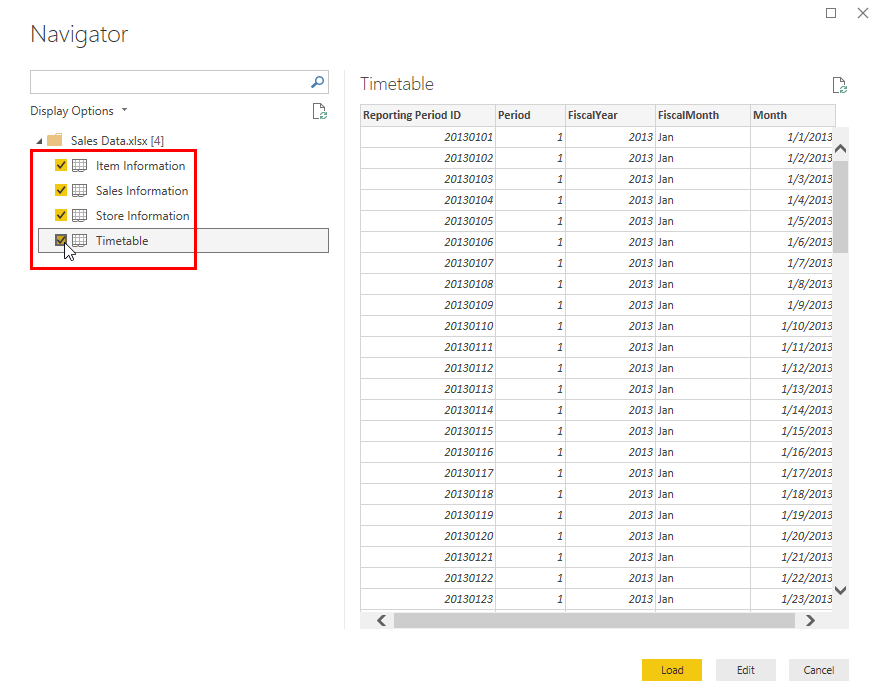
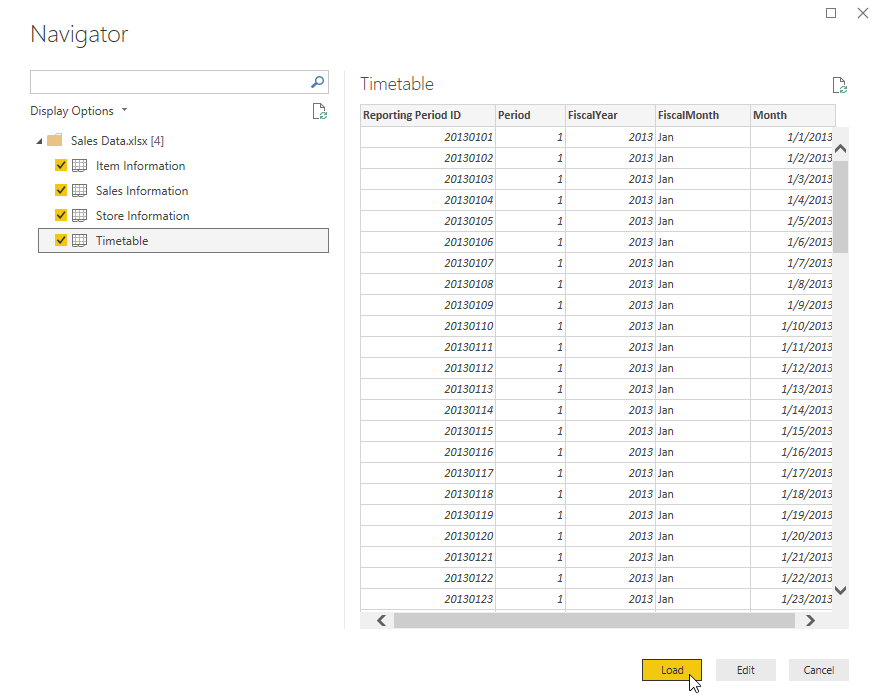
Next, the Navigator will appear. On the left side, check the items you want to load into the current Power BI data model. (You can also click any item to preview it.) Click Load when you are ready:
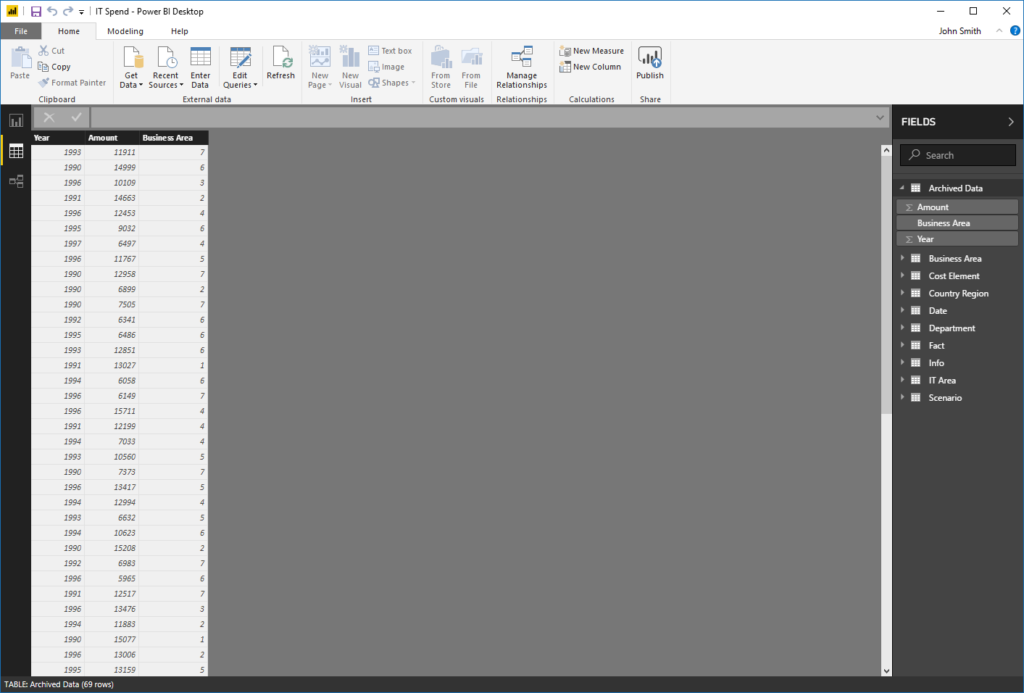
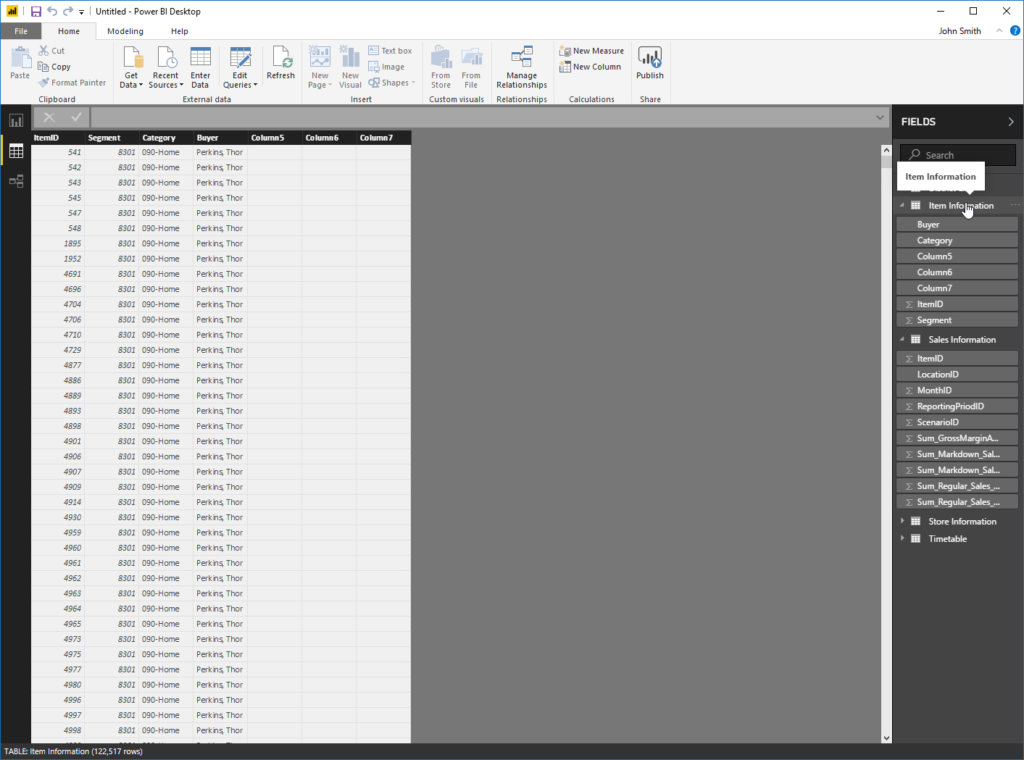
Your data will then be loaded. You can view it by clicking the Data icon in the navigation pane:
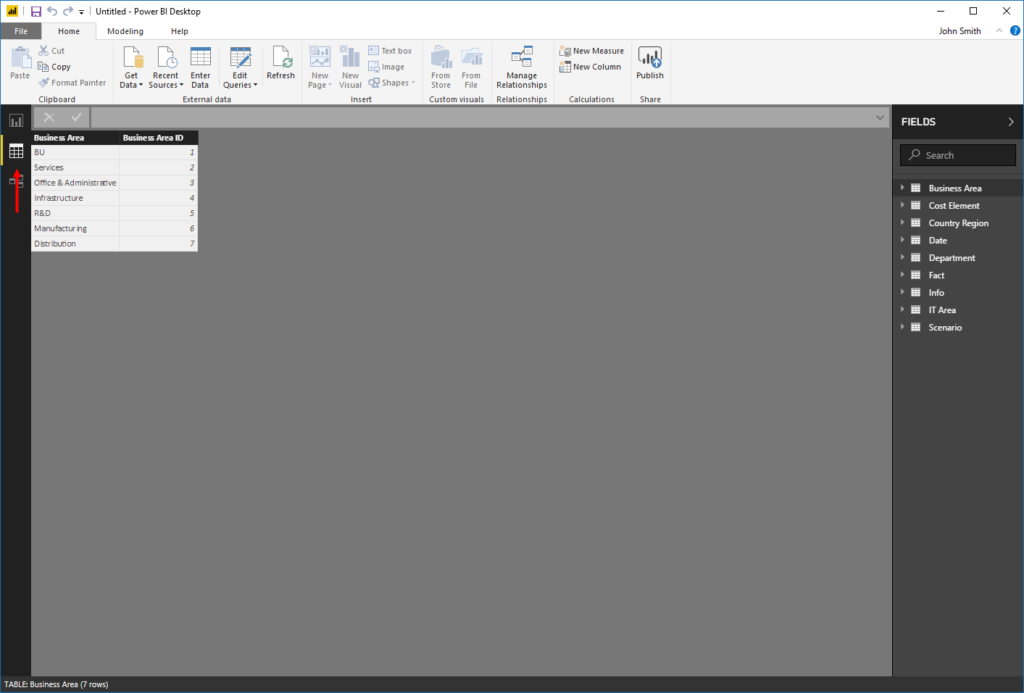
You can change the table currently being displayed by clicking any item in the Fields pane on the left side of the window.
Connecting to an Access Database
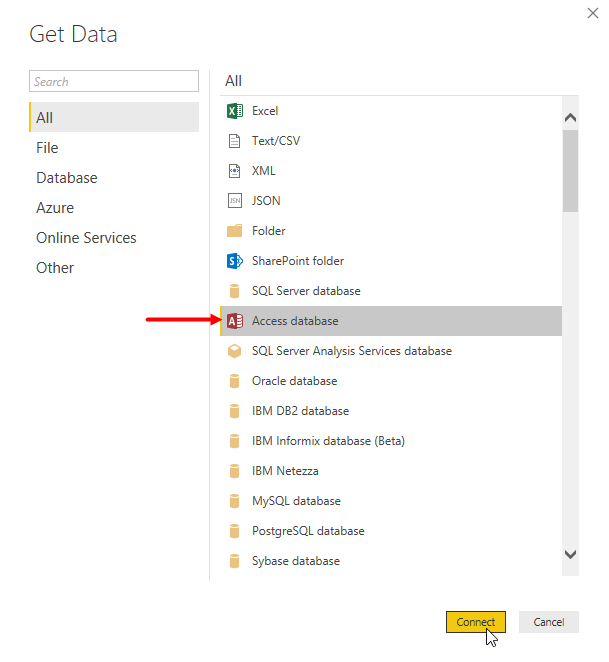
To connect to an Access database, click Home → Get Data:

You will now see a list of all connection options. Click “Access database” to select it and then click Connect:
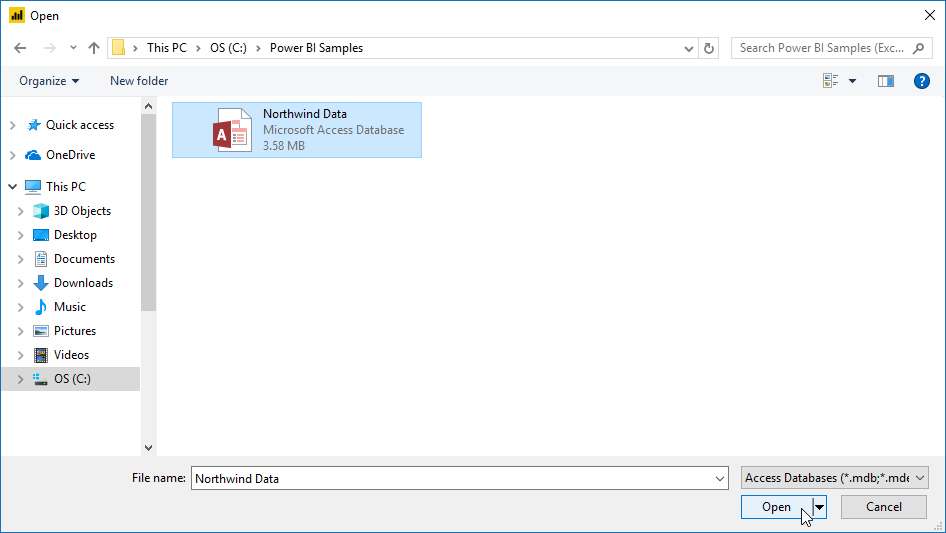
Just as before, the Open dialog will appear. Navigate to your file, select it, and click Open:
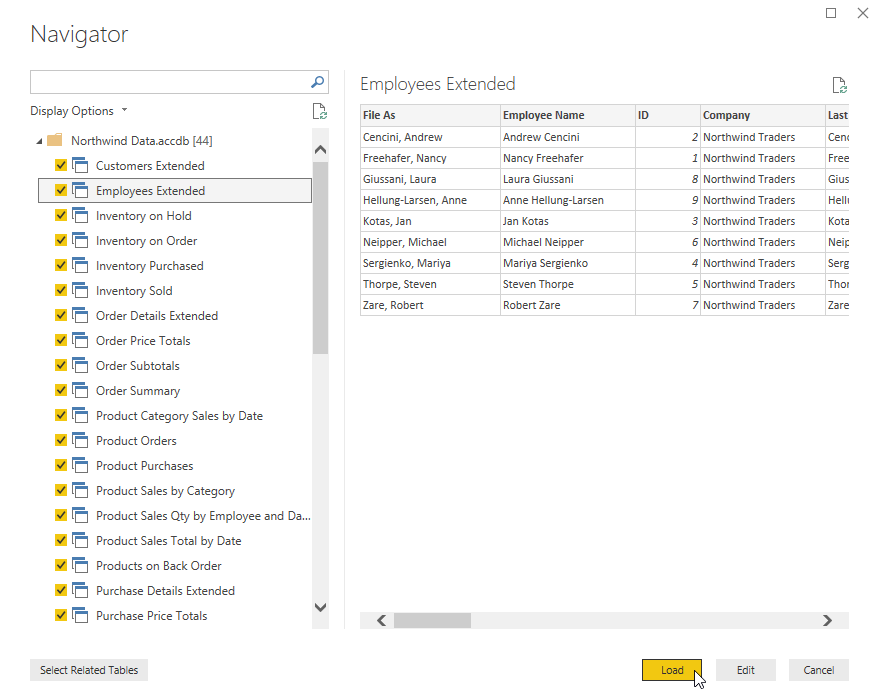
Next, the Navigator will appear. On the left side, check the items you want to load into the current Power BI data model. (You can also click any item to preview it.) Click Load when you are ready:
The data will now be loaded and will be accessible via Data view, just as when we imported an Excel workbook.
Viewing All Connection Options
Let’s take a closer look at the Get Data dialog, which appears when you click Home → Get Data:
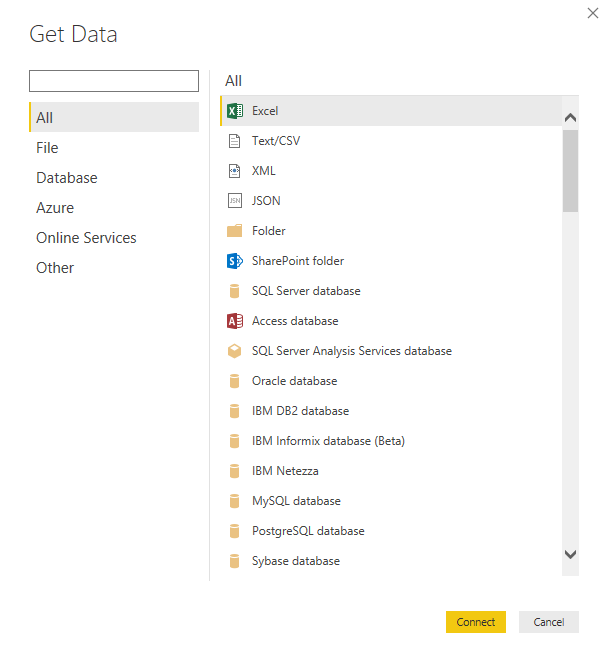
Simply choose a source from the list on the right and click Connect to see the related options for specifying details about the source. On the left side, you can use the categories or the search field to narrow down the list on the right.
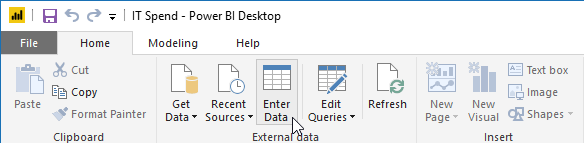
If your data does not yet exist, you can create a manual dataset that will be stored within Power BI. To start, click Home → Enter Data:
The Create Table window will appear:
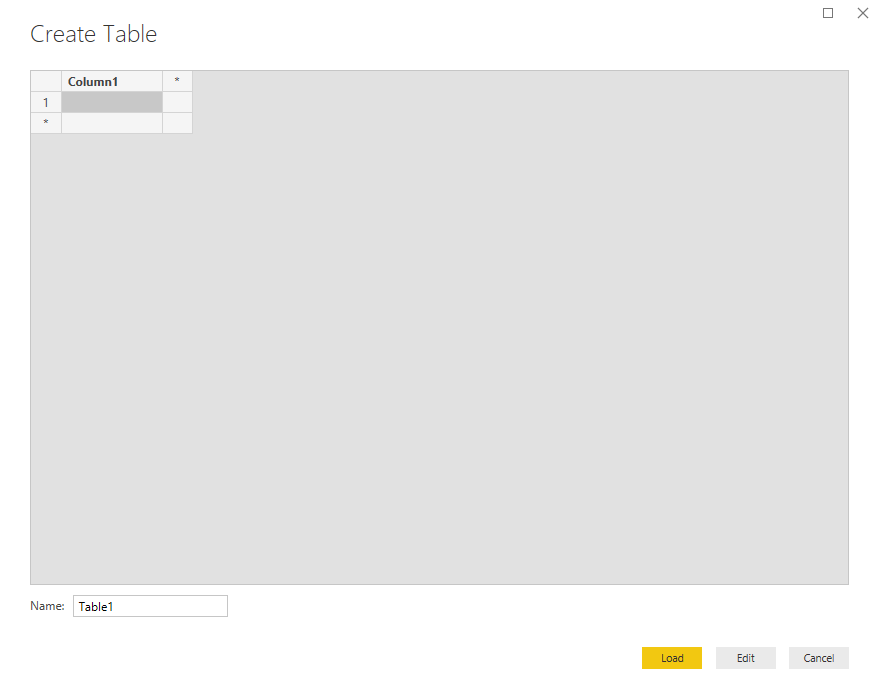
To start, rename the table columns by double-clicking them. (You should also enter a table name in the field at the bottom of the dialog.) Then, enter your data into the table. (You can add more rows by pressing the down arrow key from the last row, and more columns with the right arrow key from the last column.) Once your data is entered, click Load to complete the process:
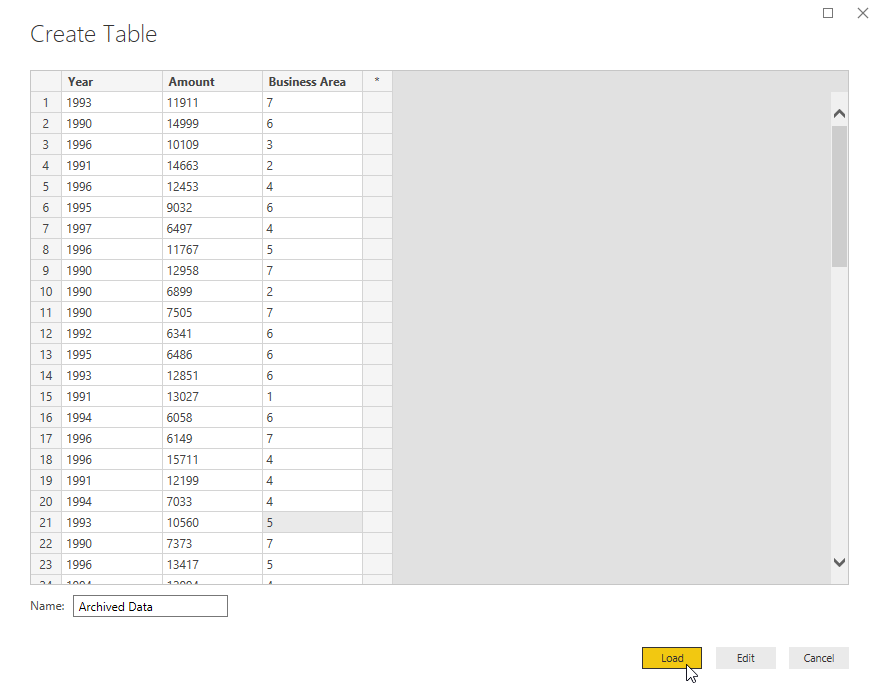
The table will now be added:
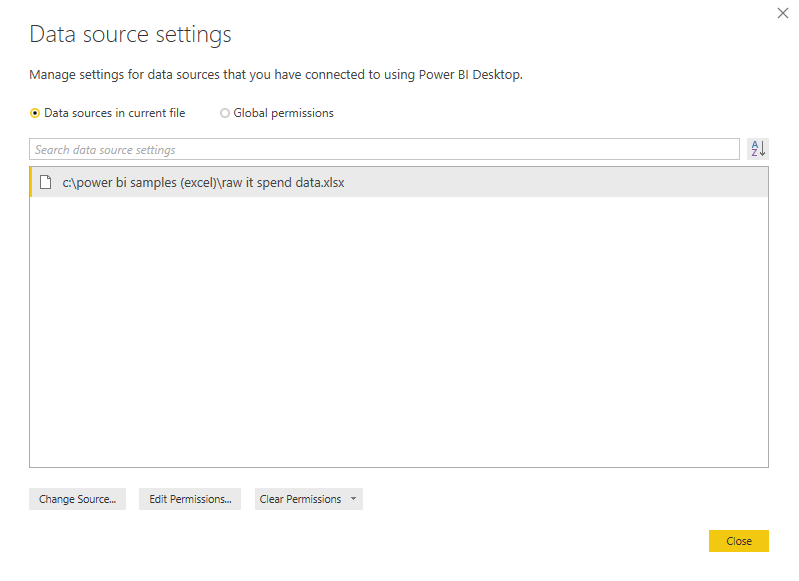
To manage the data sources in a Power BI file, click Home → Edit Queries drop-down arrow → Data source settings:
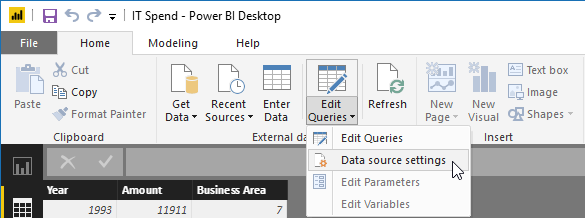
Here, you can view and edit the data sources currently connected to this file:
Activity 1-3: Connecting to Data Sources with Power BI desktop
In this activity, you will connect two data sources to a new file.
| 1 | Open Power BI. A new file should be displayed. |
| 2 | First, let’s import our main sales workbook. Click Home → Get Data arrow → Excel: |
| 3 | Navigate to the Lesson 1 folder of your Exercise Files. Click to select the Sales Data file and click Open: |
| 4 | The Navigator will open. Check all four worksheets on the left side: |
| 5 | Click Load: |
| 6 | The data will be loaded (this may take a moment). When it is complete, you will see a summary of the operation: |
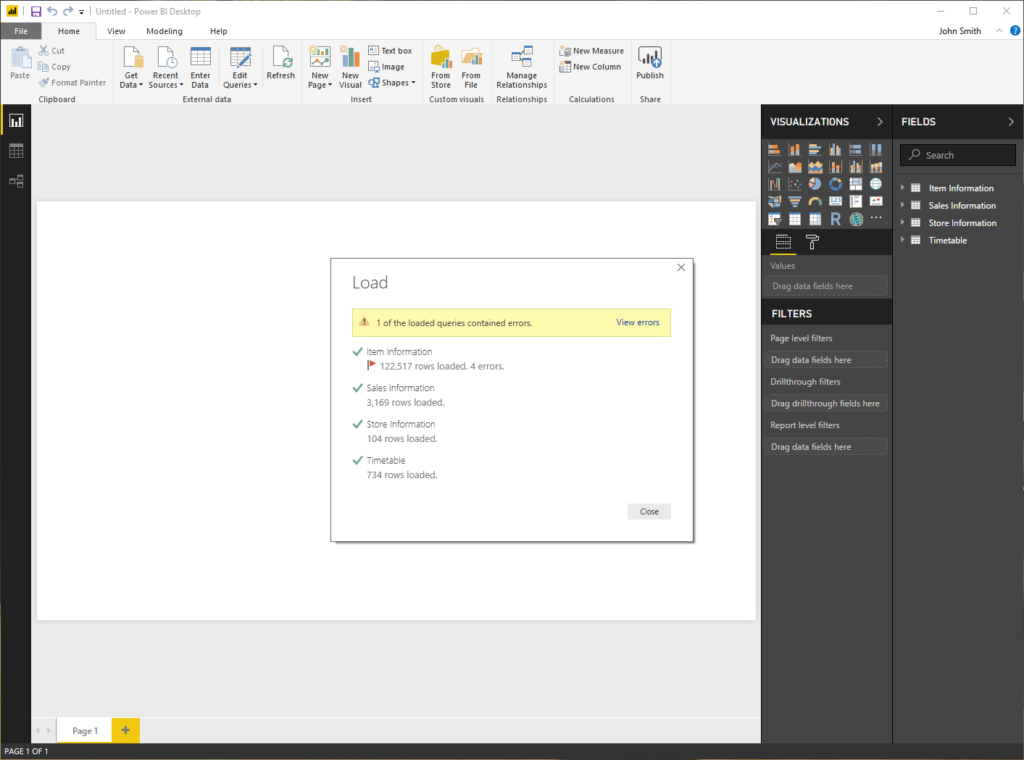
In this case, we had a few errors, which is not uncommon when importing data from other applications. We will learn how to manage these errors in the next lesson. For now, close the dialog box.
| 7 | Next, we need to import the district information, which is in an Access database. Click Home → Get Data: |

| 8 | You will now see a list of all connection options. Click “Access database” to select it and then click Connect: |
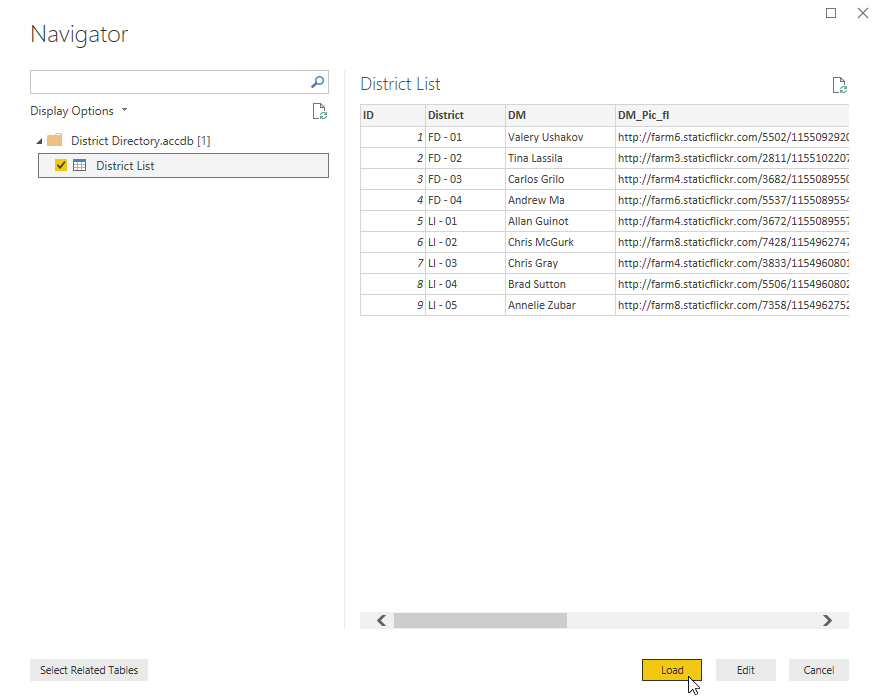
| 9 | The Open dialog will appear, and Lesson 1 of your Exercise Files should be displayed. (If it is not, navigate to it now.) Click the District Directory file to select it and click Open: |

| 10 | Check the single table in this database (District List) and click Load: |
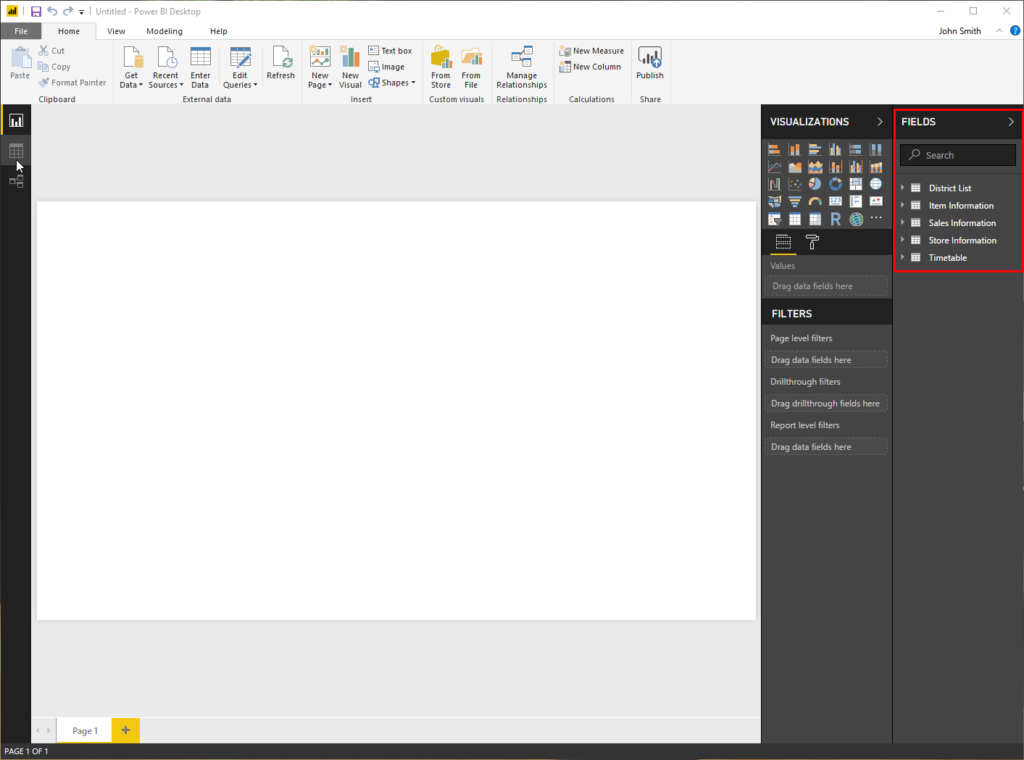
| 11 | The data will be loaded. We can see it in the Fields pane, but click the Data icon in the navigation pane to take a closer look: |
| 12 | Click each of the tables to see the data they contain: |
| 13 | Save your file as Activity 1-3 Complete and close Power BI. |